Crafting Sourdough: The Art of Simple Baking

Baking sourdough bread is not just a culinary task; it’s an art form that connects us to our ancestors and the simple joys of home cooking. The process of creating a loaf of sourdough can seem daunting at first, but with a little patience and practice, anyone can master this age-old craft. In this guide, we will explore the essentials of sourdough baking, from understanding the ingredients to perfecting your technique.
Understanding Sourdough
What is Sourdough?
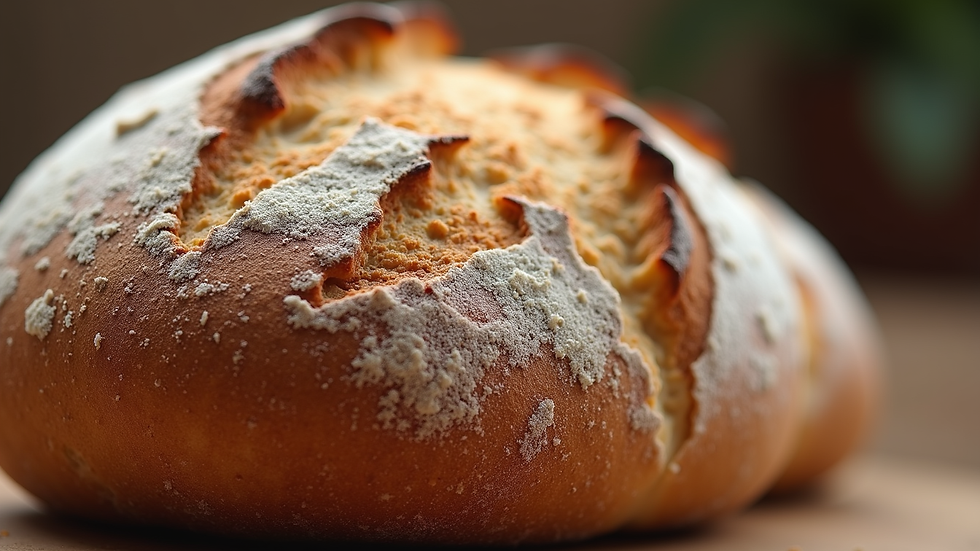
Sourdough is a type of bread made through the fermentation of dough using naturally occurring lactobacilli and yeast. Unlike commercial bread, which uses baker's yeast, sourdough relies on a starter culture that captures wild yeast and bacteria from the environment. This fermentation process not only gives sourdough its distinctive tangy flavor but also contributes to its unique texture and crust.
The Science Behind Sourdough
The magic of sourdough lies in its fermentation process. When flour and water are mixed, enzymes break down the starches into sugars, which yeast then consumes. As yeast ferments the sugars, it produces carbon dioxide, causing the dough to rise. Meanwhile, lactic acid bacteria contribute to the sour flavor and improve the bread's shelf life. This natural fermentation process can take longer than traditional bread-making methods, but the results are well worth the wait.
Essential Ingredients
Flour
The type of flour you use can significantly impact the flavor and texture of your sourdough. Here are some common options:
Bread Flour: High in protein, bread flour provides the structure needed for a good rise.
All-Purpose Flour: A versatile option that can be used alone or mixed with bread flour.
Whole Wheat Flour: Adds a nutty flavor and more nutrients, but can make the dough denser.
Water
Water is crucial for activating the yeast and creating the right dough consistency. Use filtered or bottled water if your tap water has a strong chlorine taste, as chlorine can inhibit yeast activity.
Salt
Salt not only enhances flavor but also strengthens gluten structure and controls fermentation. Use sea salt or kosher salt for the best results.
Starter
Your sourdough starter is the heart of your bread. It’s a mixture of flour and water that has fermented over time, capturing wild yeast and bacteria. You can create your own starter or obtain one from a friend or local bakery.
Creating Your Sourdough Starter
Ingredients
100g all-purpose flour
100g water (room temperature)
Instructions
Day 1: In a clean jar, mix 100g of flour with 100g of water. Stir until combined, cover loosely, and let it sit at room temperature for 24 hours.
Days 2-7: Each day, discard half of the starter and feed it with another 100g of flour and 100g of water. You should start to see bubbles and notice a tangy smell developing.
Ready to Use: Your starter is ready when it doubles in size within 4-6 hours of feeding and has a pleasant sour aroma.
The Sourdough Baking Process
Autolyse
Autolyse is a technique where flour and water are mixed and allowed to rest before adding salt and starter. This step helps to develop gluten and improve dough extensibility.
Combine your flour and water in a bowl.
Mix until no dry flour remains.
Cover and let rest for 30 minutes to 1 hour.
Mixing and Kneading
After the autolyse, add salt and your sourdough starter to the dough. Mix until fully incorporated. You can knead the dough by hand or use the stretch and fold method, which involves stretching the dough and folding it over itself several times.
Bulk Fermentation
This is the first rise of your dough. Place the dough in a lightly greased bowl and cover it. Let it rise at room temperature for 4-6 hours, performing stretch and folds every 30 minutes during the first two hours.
Shaping
Once the dough has risen, it’s time to shape it. Gently turn the dough out onto a floured surface and shape it into a round or oval loaf. Use a bench scraper to help with shaping and to maintain tension in the dough.
Final Proofing
After shaping, let the dough proof for another 1-2 hours at room temperature or in the refrigerator overnight for a more complex flavor.
Scoring and Baking
Before baking, score the top of your loaf with a sharp blade. This allows the bread to expand in the oven. Preheat your oven to 450°F (232°C) and bake your sourdough for 30-40 minutes, or until it reaches a deep golden brown color.
Troubleshooting Common Issues
Dense Bread
If your sourdough is too dense, it may be due to insufficient fermentation or not enough hydration. Ensure your starter is active and bubbly before using it, and consider increasing the water content in your dough.
Flat Loaf
A flat loaf can result from over-proofing or under-shaping. Keep an eye on your dough during the bulk fermentation and final proofing stages, and make sure to create enough tension when shaping.
Crust Too Hard
If your crust is too hard, try baking with steam. Place a pan of water in the oven while baking to create steam, which helps achieve a crispy crust without being overly hard.
Tips for Perfecting Your Sourdough
Patience is Key: Sourdough baking requires time and practice. Don’t rush the fermentation process.
Keep a Baking Journal: Document your baking process, noting any changes in ingredients or techniques. This will help you learn and improve.
Experiment with Flavors: Once you’re comfortable with the basic recipe, try adding herbs, spices, or even cheese to your dough for unique flavors.
Conclusion
Crafting sourdough bread is a rewarding experience that combines science and art. With the right ingredients, techniques, and a bit of patience, you can create delicious loaves that are not only satisfying to eat but also to make. So gather your flour, water, and starter, and embark on your sourdough journey today. Happy baking!
Comments